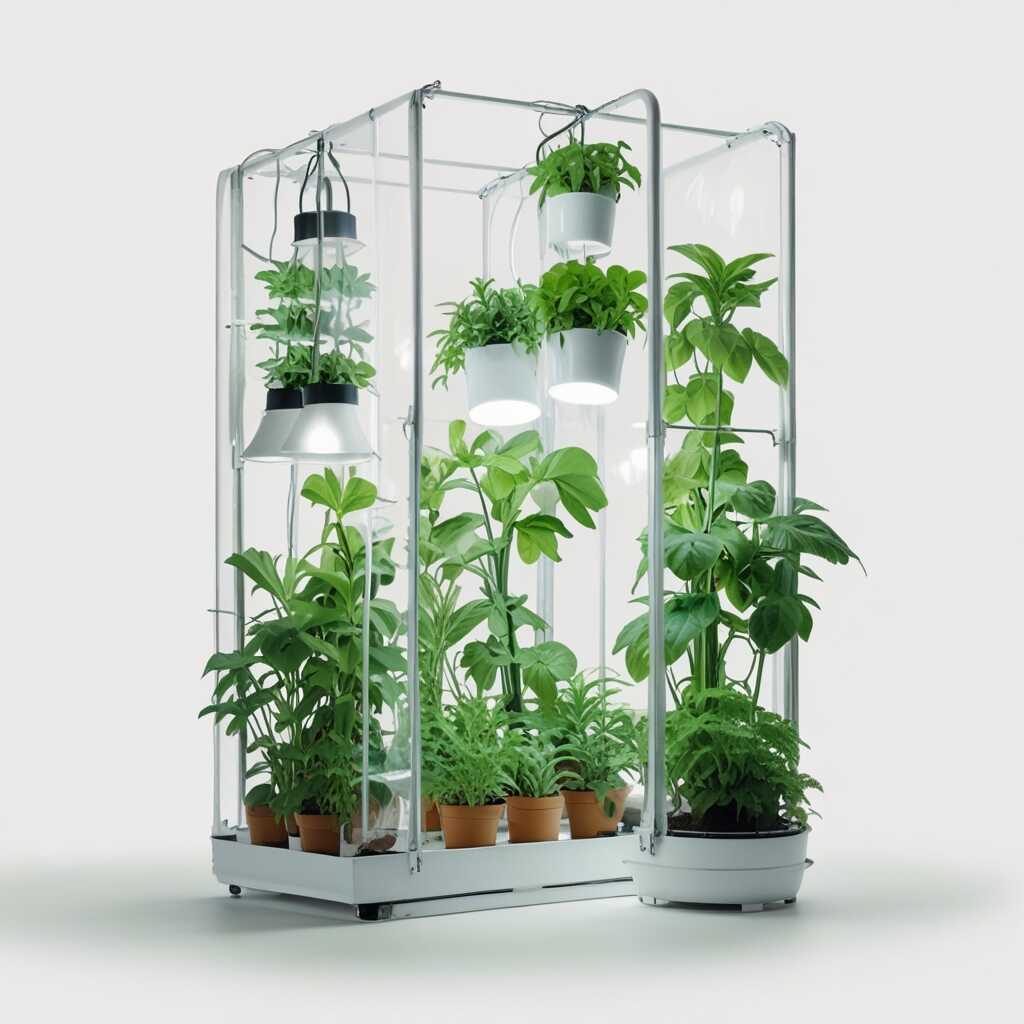
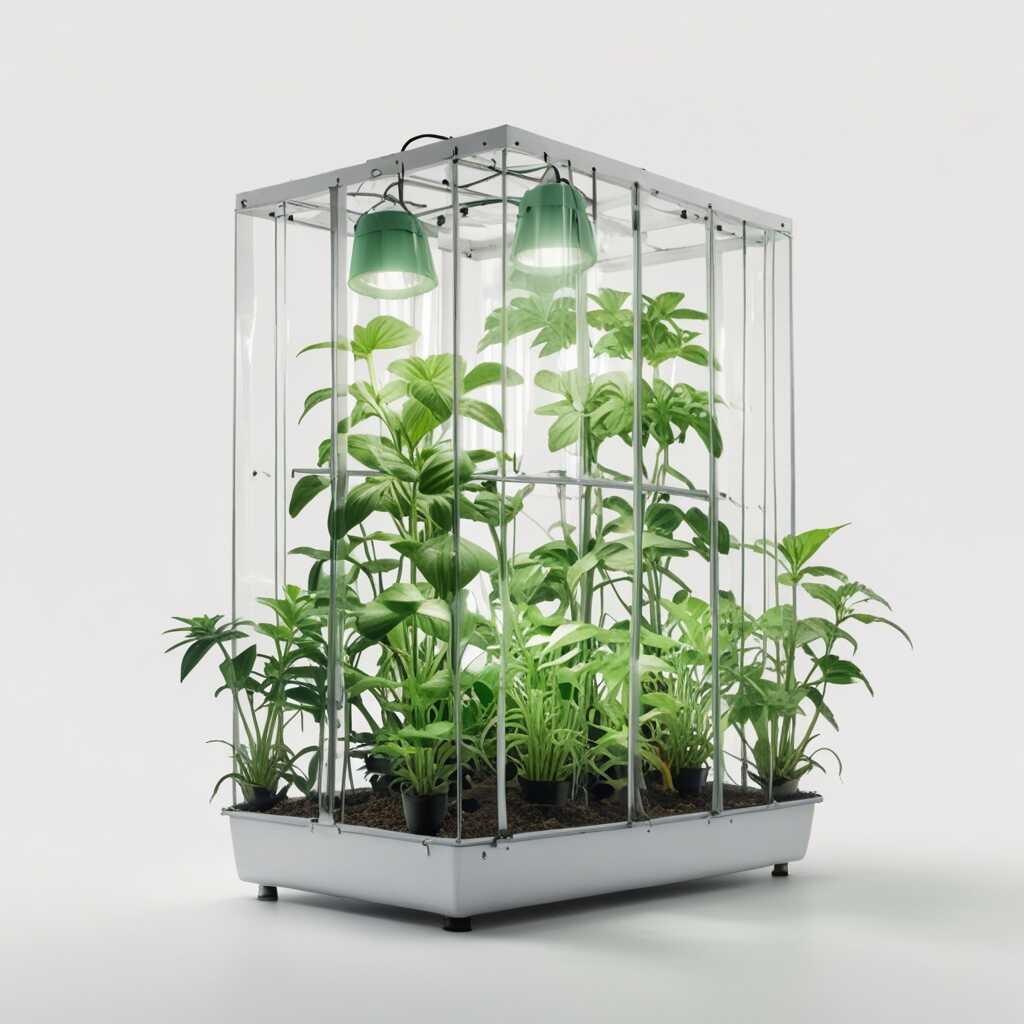
Position LED grow lights eighteen inches above seedling trays for optimal growth results. This height provides balanced light intensity without causing heat stress or light burn. Most seedlings thrive at this distance, which allows proper photosynthesis while preventing stretching. Common brands like Philips and Spider Farmer work well at eighteen-inch positioning.
How Proper Light Distance Affects Seedling Development
Light distance directly influences seedling health through photosynthesis efficiency and growth patterns. Seedlings positioned too close to lights often develop burnt leaf tips and stunted growth, while those placed too far become leggy and weak. Performance analysis shows that optimal positioning typically ranges from twelve to twenty-four inches depending on light wattage and plant type. The eighteen-inch standard works well for most vegetable and herb seedlings during their first few weeks of growth.
Signs Your Light Height Needs Adjustment
Recognizing when to adjust light height prevents common growing problems. Seedlings stretching toward lights indicate insufficient intensity, requiring lights to move closer. Conversely, yellowing or browning leaf edges suggest light burn from excessive intensity or proximity. Healthy seedlings display compact growth with vibrant green coloration and sturdy stems when positioned correctly.
Why LED Technology Works Best for Indoor Seedling Production
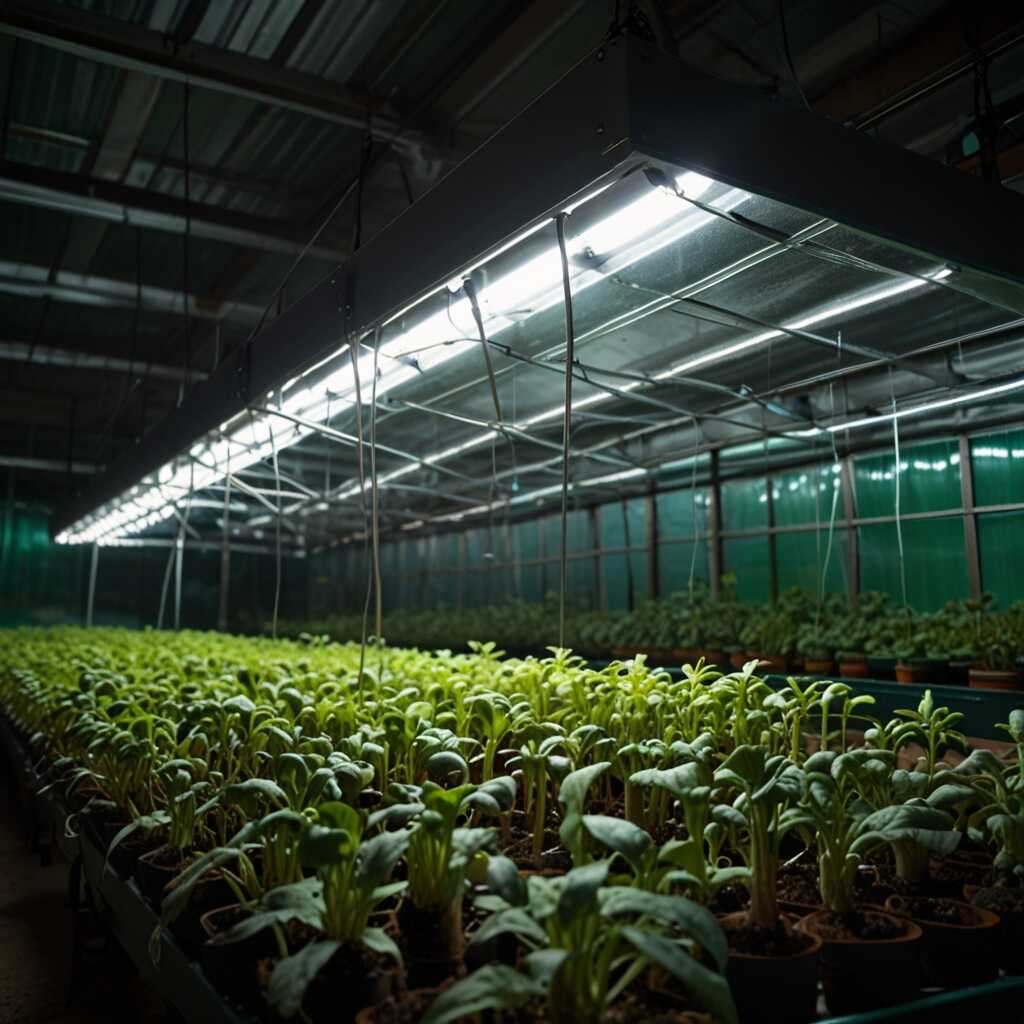
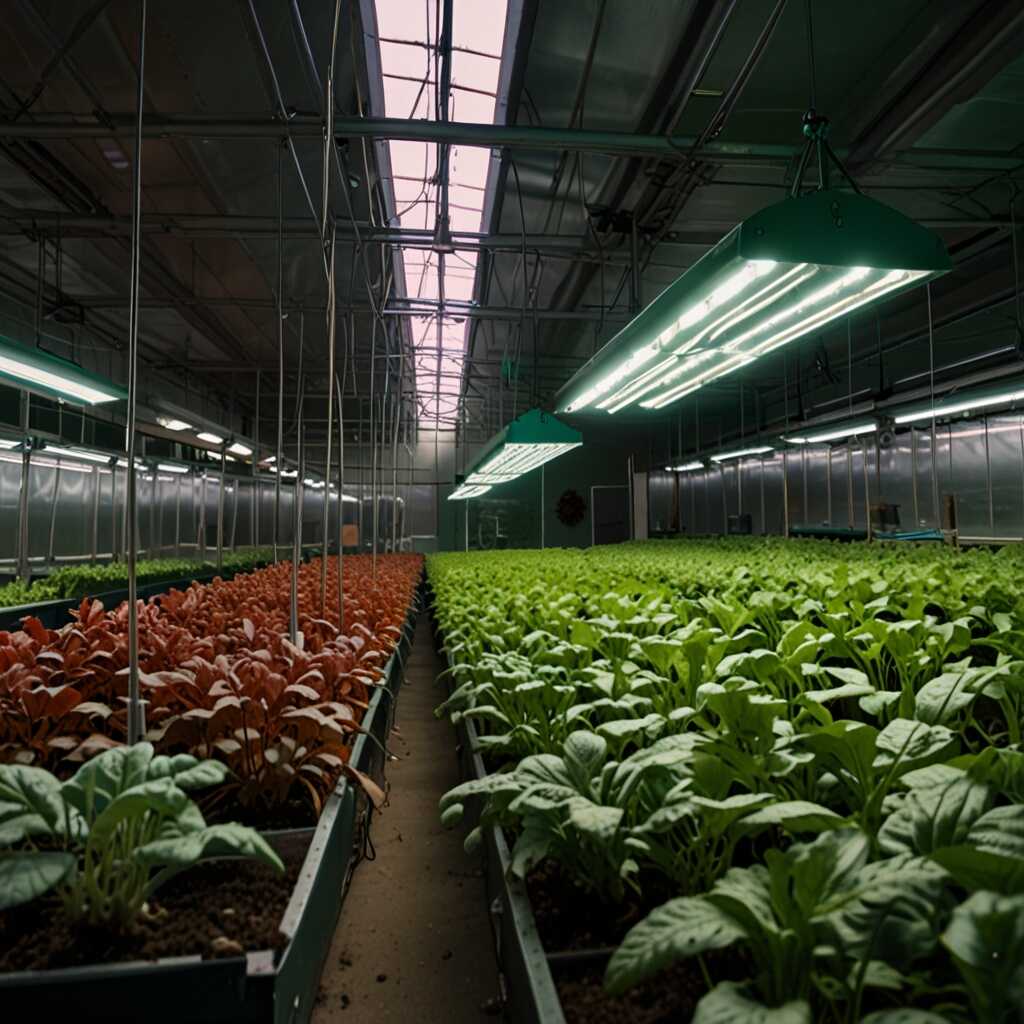
LED grow lights excel at seedling production because they generate minimal heat while delivering full-spectrum illumination. Traditional fluorescent lights require closer positioning but create more heat stress, while incandescent bulbs waste energy as heat rather than usable plant light. Comparison data reveals that LED systems typically consume sixty percent less energy than equivalent fluorescent setups while lasting five times longer.
Energy Efficiency Benefits of LED Positioning
Proper LED positioning maximizes energy efficiency by ensuring plants receive adequate light without waste. When positioned eighteen inches above seedlings, most LED panels deliver between two hundred to four hundred micromoles of light per square meter per second, which supports healthy photosynthesis. This intensity level promotes strong root development and compact growth without requiring excessive power consumption.
Step-by-Step Guide to Setting LED Light Height
Start by measuring eighteen inches from your seedling tray surface to determine initial light placement. Use adjustable hangers or pulleys that allow easy height modifications as plants grow. Most commercial LED grow light systems include hanging hardware designed for height adjustments. Testing methodology suggests checking seedling response after twenty-four hours of initial positioning to ensure proper light intensity.
Tools and Equipment for Proper Light Installation
Essential equipment includes adjustable rope ratchets, measuring tape, and a light meter for precise positioning. Rope ratchets allow quick height adjustments without removing lights completely. A basic light meter helps verify that seedlings receive adequate intensity, typically measuring between twenty to forty thousand lux for optimal growth. Quality installation hardware prevents accidents and ensures consistent light distribution.
Cost Considerations for LED Grow Light Systems
- Basic LED panels typically cost between fifty to one hundred fifty dollars for seedling setups.
- Professional adjustable hanging systems range from twenty to sixty dollars per light.
- Energy costs average two to five dollars monthly for standard seedling operations.
- Quality LED lights last approximately five to seven years with regular use.
- Replacement parts like hangers or timers usually cost under thirty dollars each.
- Initial setup including lights and accessories generally requires two hundred to four hundred dollars investment.
- Return on investment typically occurs within two growing seasons for home gardeners.
Adjusting Light Height Throughout Seedling Growth Stages
Seedlings require different light distances as they develop from germination through transplant-ready stages. Begin with lights positioned twelve inches above newly emerged seedlings, then gradually raise to eighteen inches as plants reach two to three inches tall. Key attributes to monitor include stem thickness, leaf color, and overall plant vigor when determining optimal height adjustments.
Growth Stage Requirements for Different Plant Types
Different seedling varieties require specific height adjustments based on their natural growth patterns. Tomato and pepper seedlings tolerate closer light positioning due to their heat preferences, while lettuce and herb seedlings prefer slightly greater distances to prevent stress. Root vegetables like carrots and beets need consistent eighteen-inch positioning throughout their seedling stage for uniform development.
Common Mistakes When Positioning LED Grow Lights
The most frequent positioning error involves placing lights too close initially, causing heat stress and stunted growth. Many beginners assume closer positioning always produces better results, but excessive intensity overwhelms young seedlings. Another common mistake includes failing to adjust height as plants grow, leading to uneven development and potential light burn on taller seedlings.
Limitations of LED Grow Light Systems
LED grow lights have several limitations that affect positioning decisions. High-quality units require significant upfront investment compared to basic fluorescent options. Some LED systems produce uneven light distribution, requiring multiple units for uniform coverage. Safety requirements include proper electrical installation and adequate ventilation to prevent moisture damage to electronic components.
Troubleshooting Poor Seedling Performance
- Leggy growth indicates insufficient light intensity requiring closer positioning.
- Leaf burn suggests excessive intensity requiring greater distance or reduced power.
- Uneven growth patterns show poor light distribution needing repositioning or additional units.
- Slow development typically results from inadequate daily light duration or wrong spectrum.
- Wilting despite adequate water suggests heat stress from improper light distance.
- Purple or reddish leaves often indicate excessive blue light requiring spectrum adjustment.
- Weak stems usually result from insufficient light intensity or excessive distance.
How LED Positioning Compares to Other Light Technologies
LED positioning requirements differ significantly from fluorescent and HID lighting systems. Fluorescent tubes require positioning within six to twelve inches of seedlings due to lower intensity output, while LED panels work effectively at eighteen-inch distances. Product reviews consistently show that HID lights generate excessive heat, requiring distances of twenty-four to thirty-six inches and additional cooling systems.
Temperature Management Across Different Light Types
Temperature control varies dramatically between lighting technologies and affects optimal positioning. LED lights operate at lower temperatures, allowing closer placement without heat stress risks. Fluorescent lights generate moderate heat but require closer positioning for adequate intensity. HID systems produce significant heat that limits positioning options and increases cooling requirements.
Creating the Complete Indoor Seedling Environment
Successful seedling production requires coordinating light positioning with temperature and humidity control. Maintain air temperatures between sixty-five to seventy-five degrees Fahrenheit while keeping relative humidity around fifty to sixty percent. Final verdict on positioning success depends on balancing these environmental factors with proper eighteen-inch LED light placement for optimal seedling development.
Environmental Monitoring Tools for Seedling Success
Essential monitoring equipment includes digital thermometers, humidity meters, and light sensors to track environmental conditions. These tools help maintain consistent growing conditions while ensuring proper light positioning effectiveness. Regular monitoring prevents problems before they affect seedling health and allows for timely adjustments to light height or environmental controls.
Timeline for Successful Seedling Development
- Germination typically occurs within three to ten days under proper lighting conditions.
- First true leaves develop approximately seven to fourteen days after germination.
- Seedlings reach transplant size usually within four to eight weeks depending on variety.
- Light height adjustments should occur every seven to ten days during active growth.
- Hardening off process begins two weeks before outdoor transplanting in spring.
- Total indoor growing time ranges from six to twelve weeks for most vegetables.
- Success rates exceed ninety percent with proper positioning and environmental control.
Advanced Techniques for LED Light Management
Advanced growers use timers and dimming controls to optimize light delivery throughout seedling development. Programmable timers ensure consistent fourteen to sixteen hour daily light periods that support healthy growth patterns. Warranty considerations become important when investing in advanced LED systems with multiple control features and longer operational lifespans.
Future-Proofing Your Indoor Growing Setup
Investment in quality LED systems with adjustable height mechanisms provides long-term growing success. Look for systems that accommodate various plant types and growth stages through flexible positioning options. Price analysis shows that higher-quality units often provide better positioning flexibility and longer operational life, making them worthwhile investments for serious indoor gardeners.